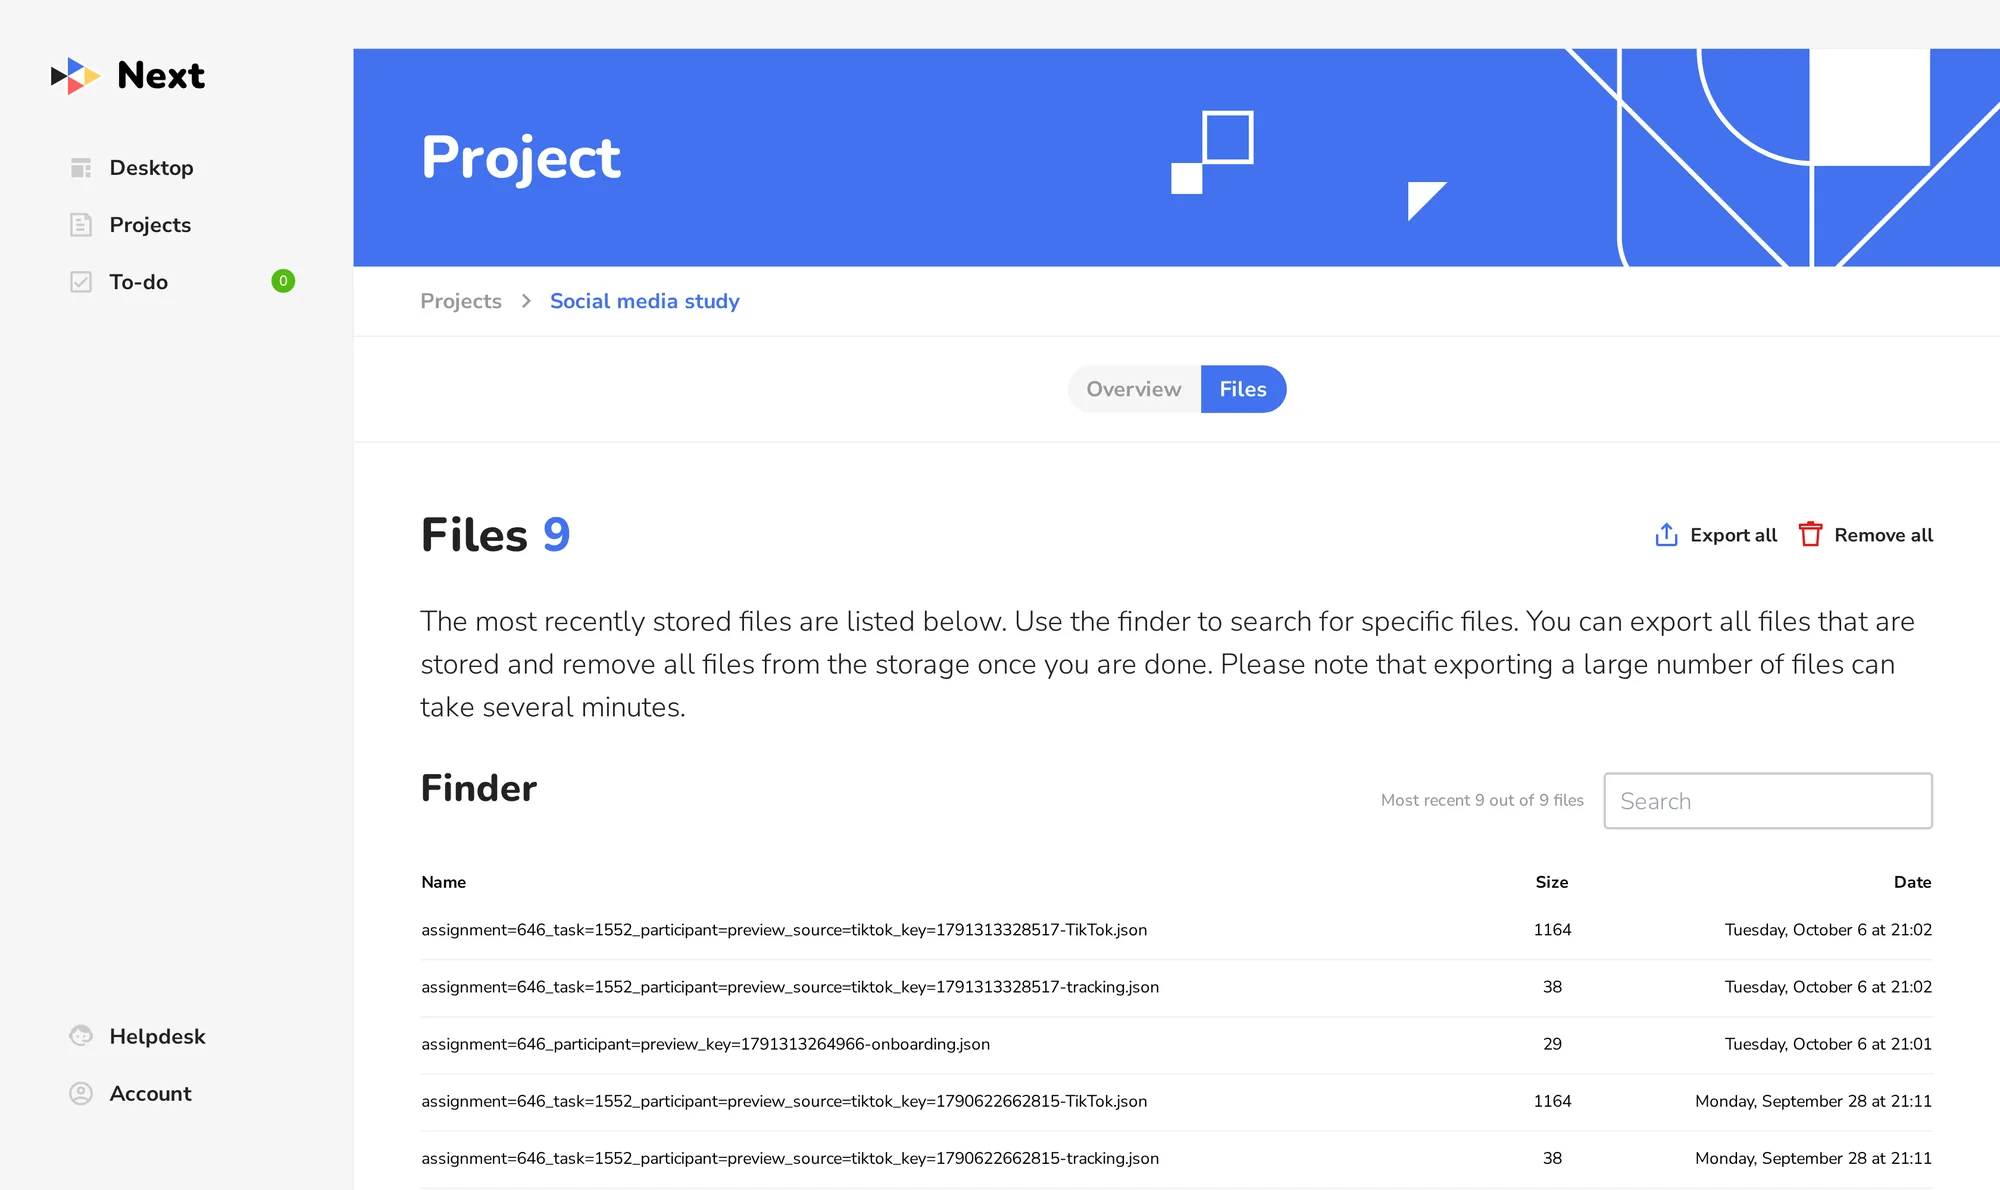
Set up your study, step by step
This is what building a data donation study on Next looks like. You can follow along with a free account: everything up to publishing works without a licence.
Create your study
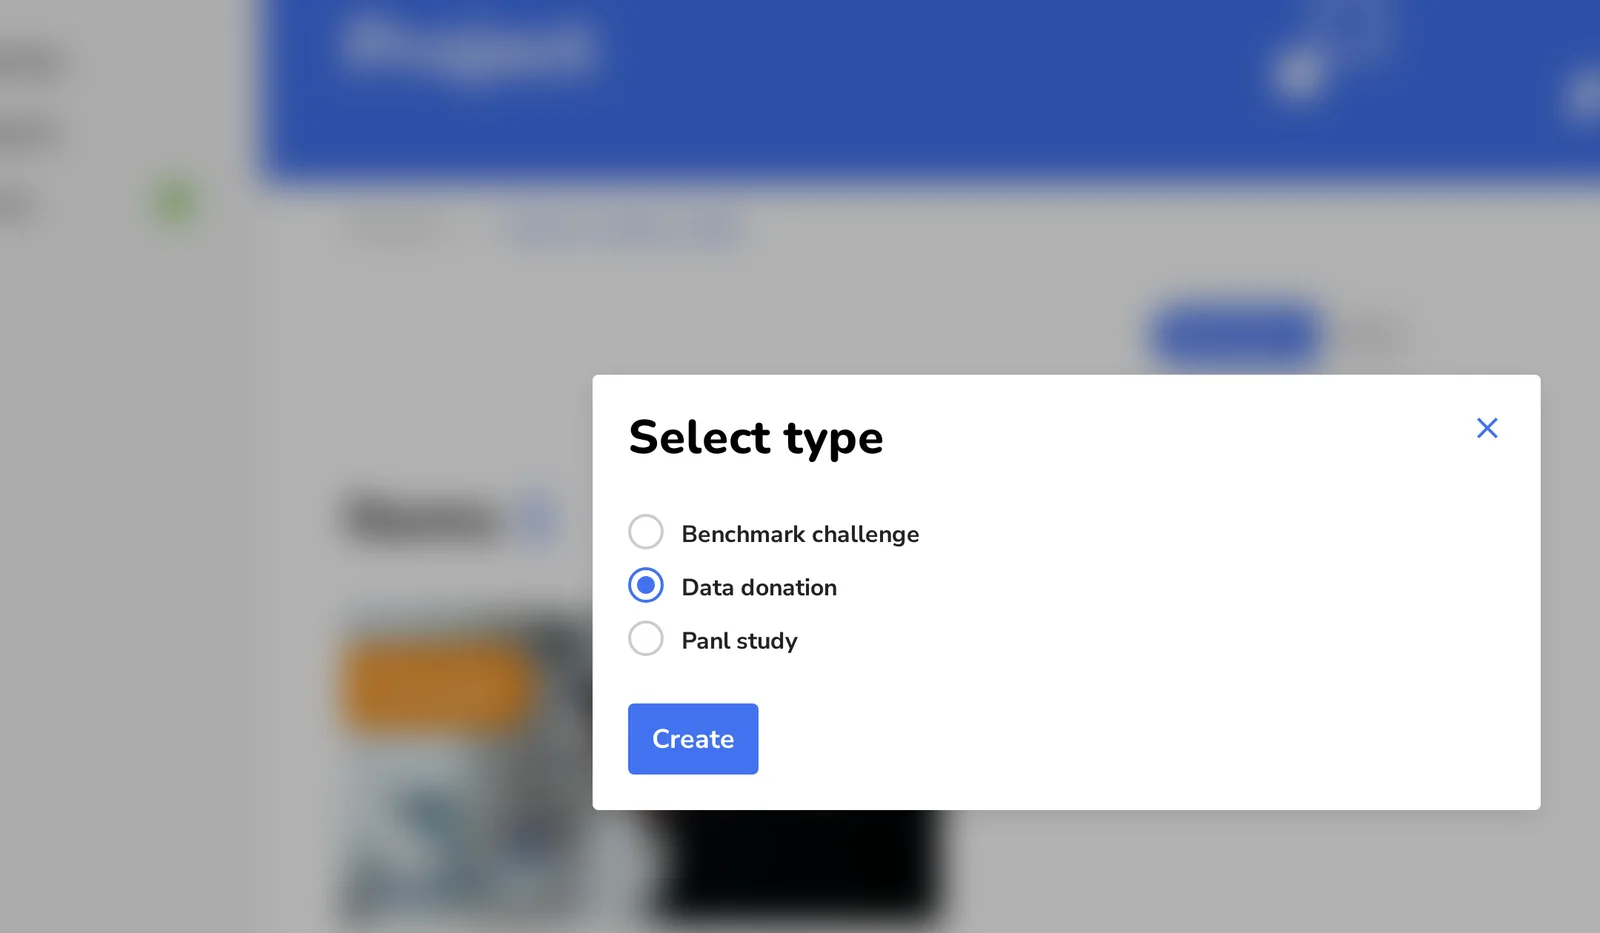
Sign in to Next, create a project and add a data donation item to it. Colleagues can join as admins of the project, so you can build the study together.
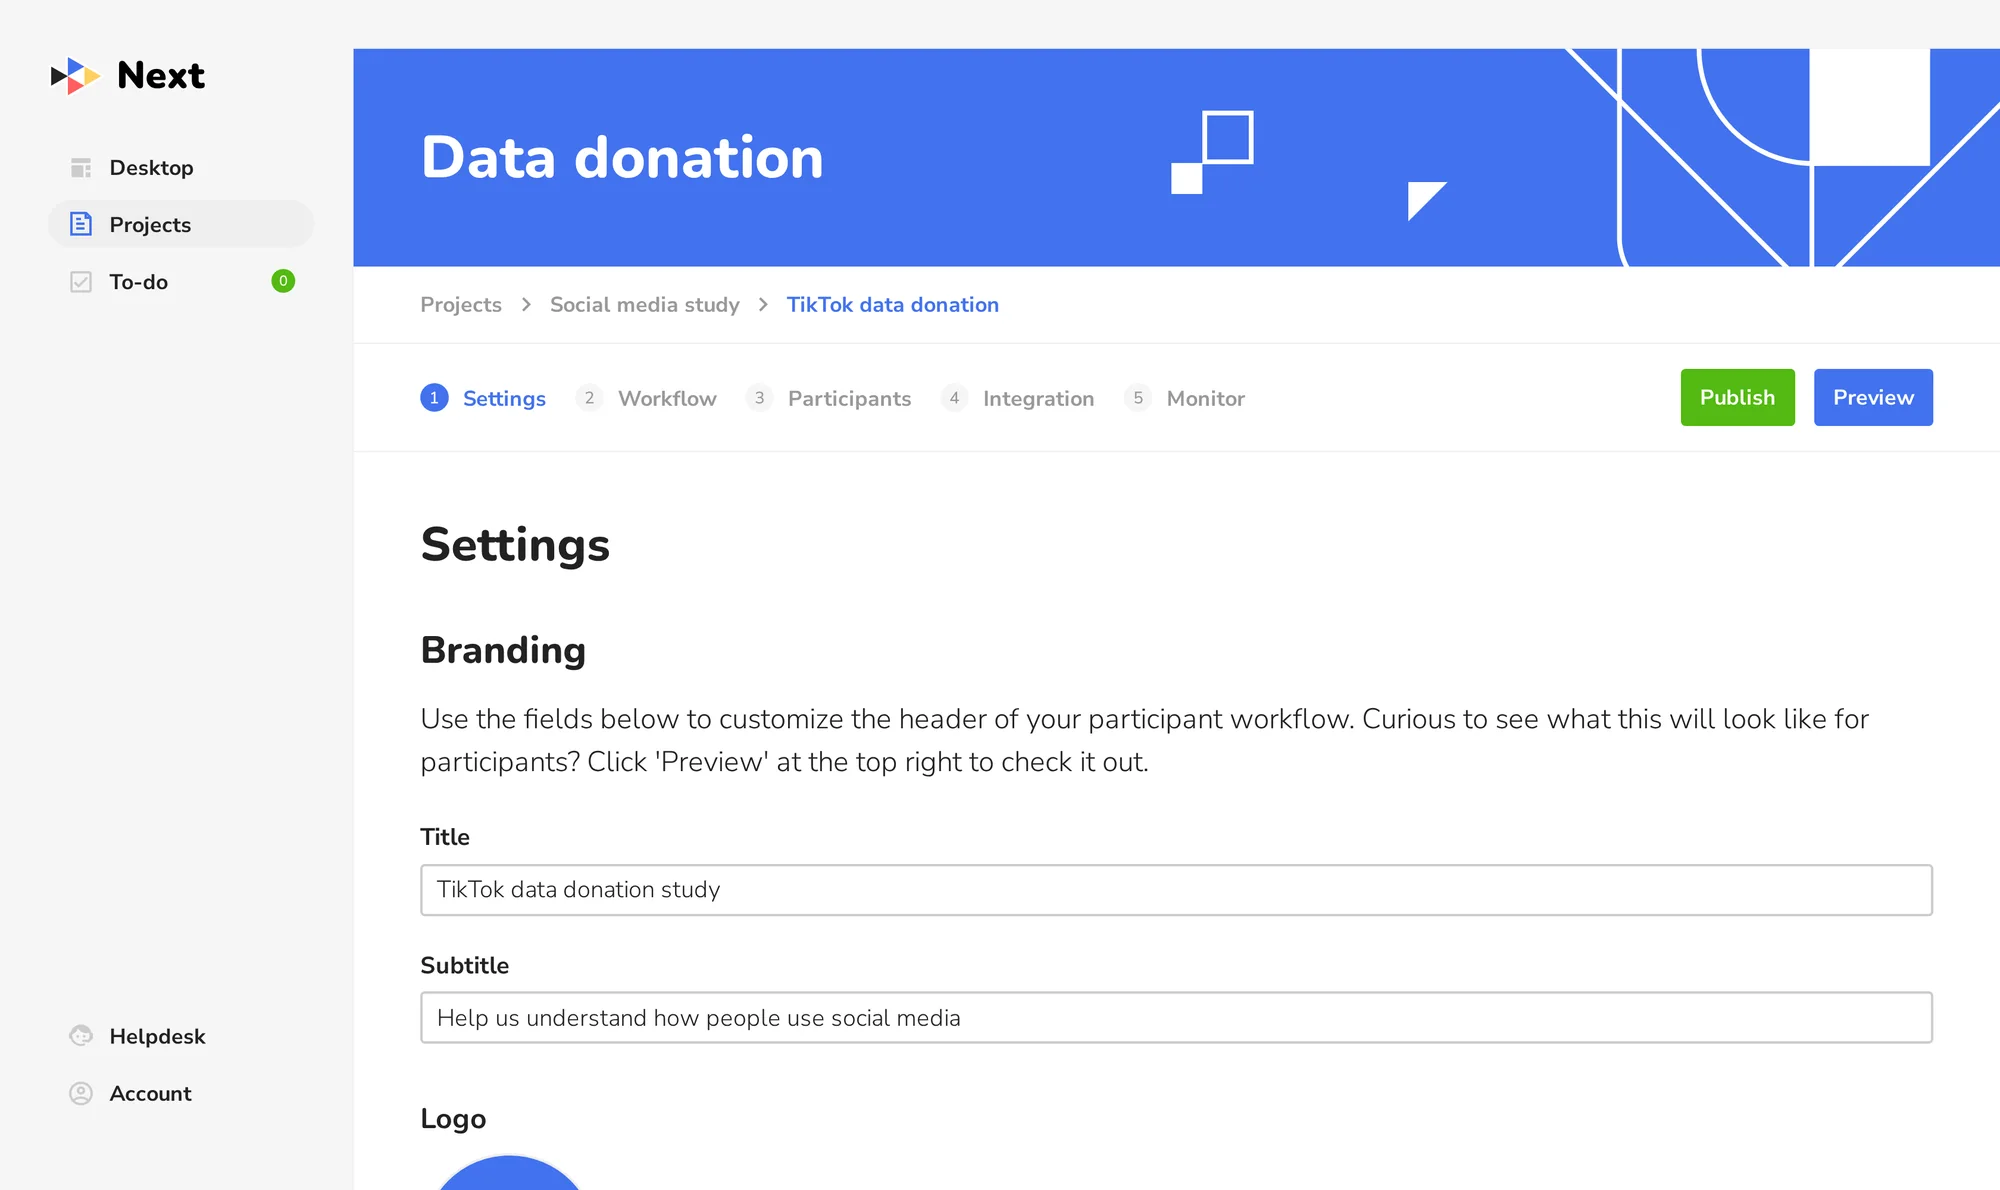
Add your own content
Give the study a title, your logo and a header image. Write the introduction and the consent form. Optionally add a privacy statement and a helpdesk page with your contact details.
See Privacy and consent for templates.
Build the participant journey
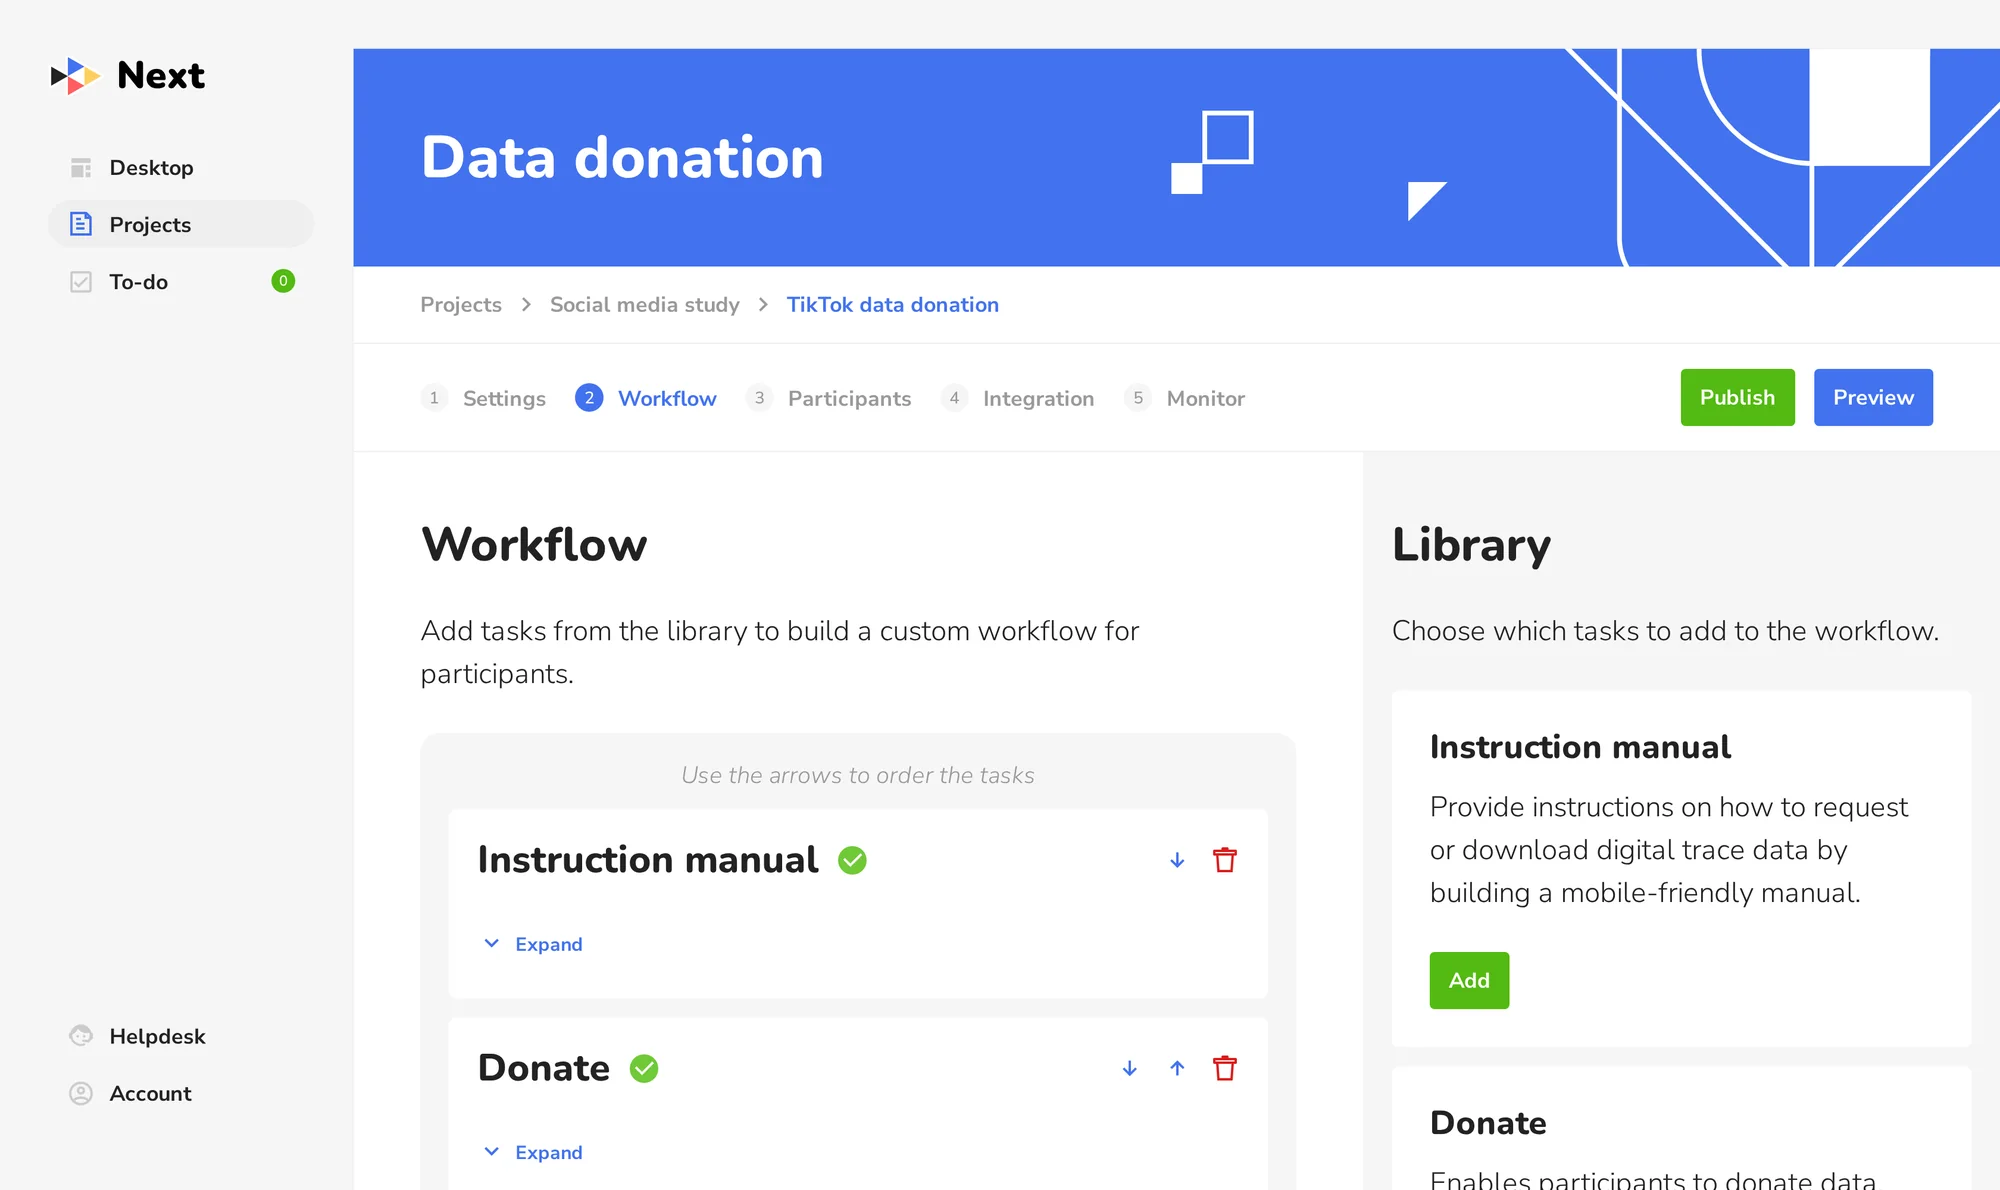
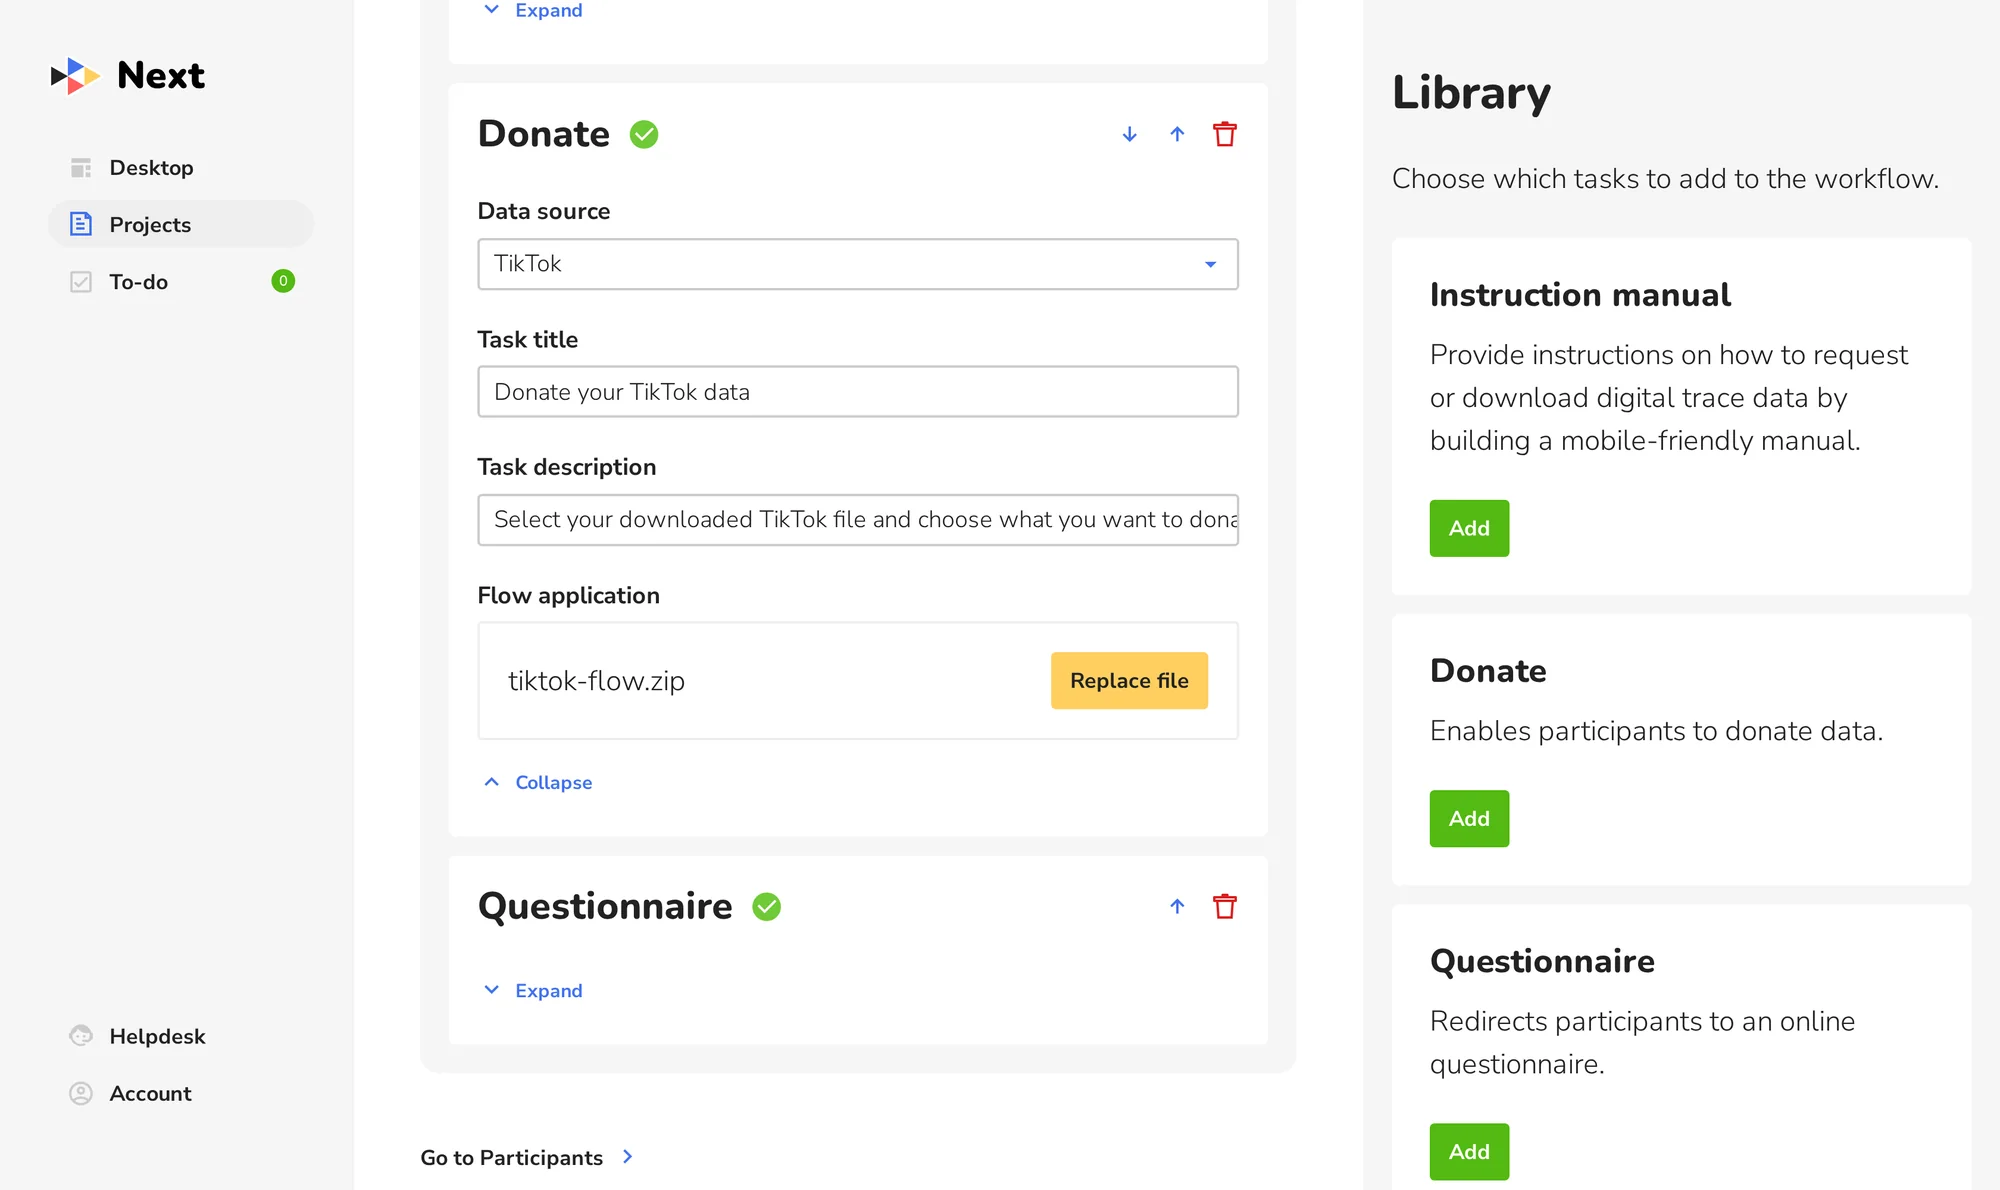
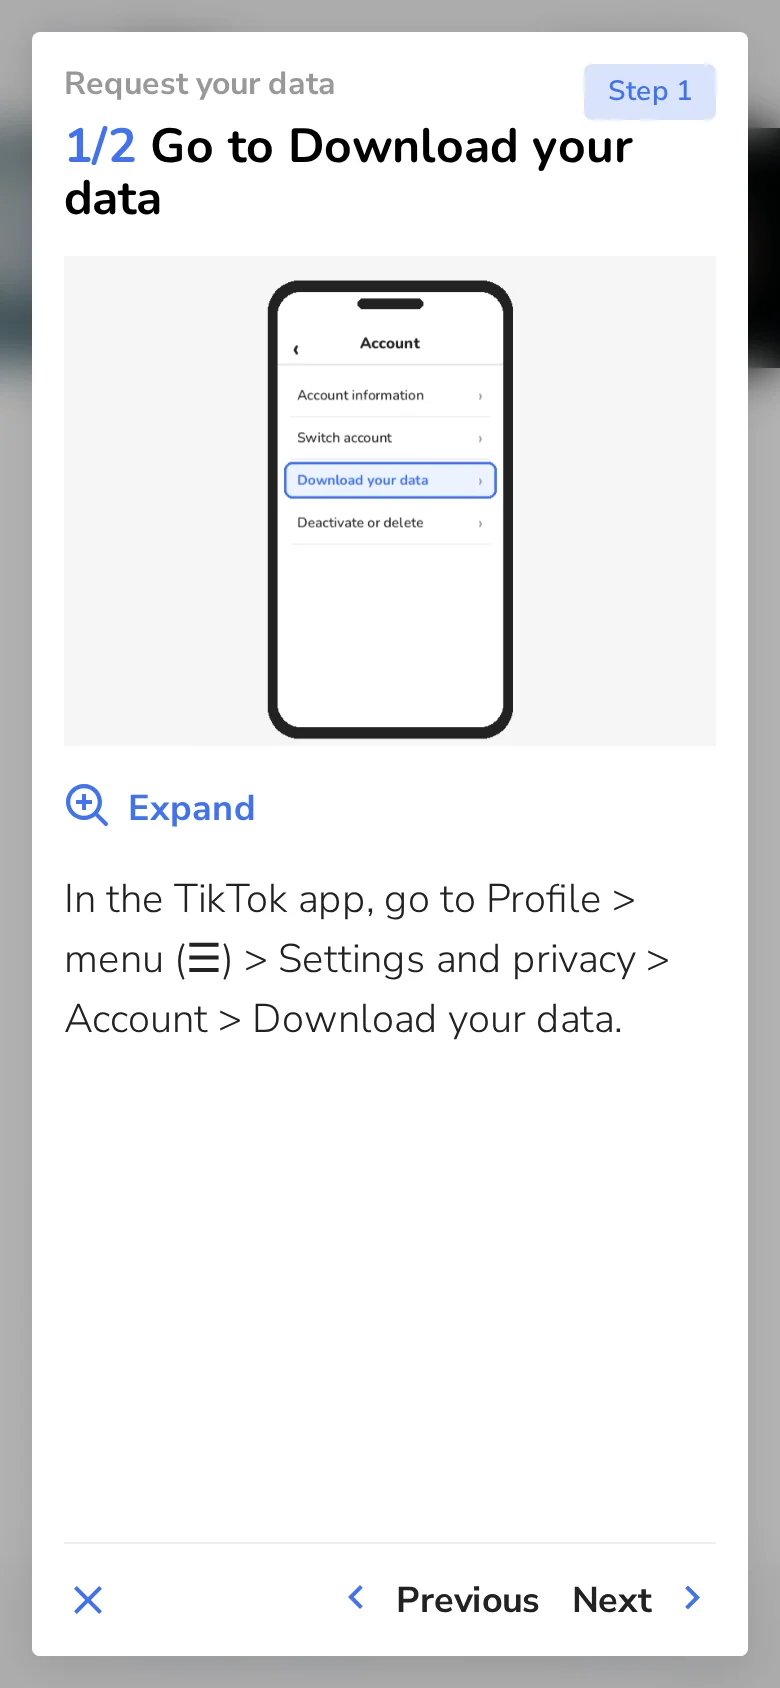
Combine tasks in the order you want: instructions for requesting the download file, the donation itself and, if you like, a link to a questionnaire.
Upload your flow application
The Donate task runs your flow application, which you upload as a single file. This is the step that needs preparation outside Next.
Decide early what your flow application is built on and who supports it. Read what to expect.
Test as a participant
Use Preview to walk through the whole journey yourself, on a phone and on a laptop. Test the donation with recent download files from real accounts, and repeat the test shortly before launch.
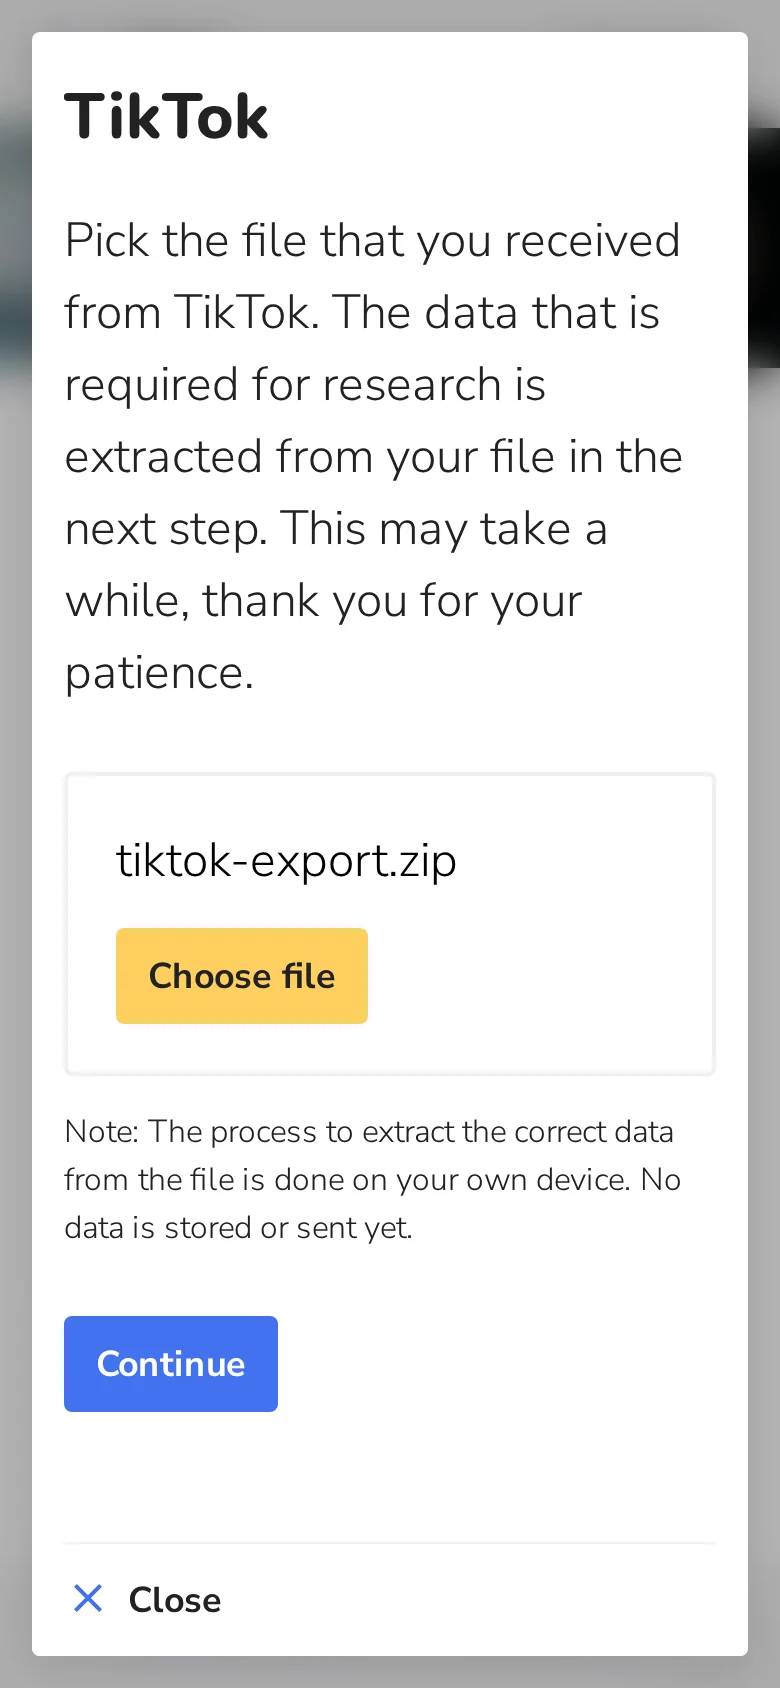
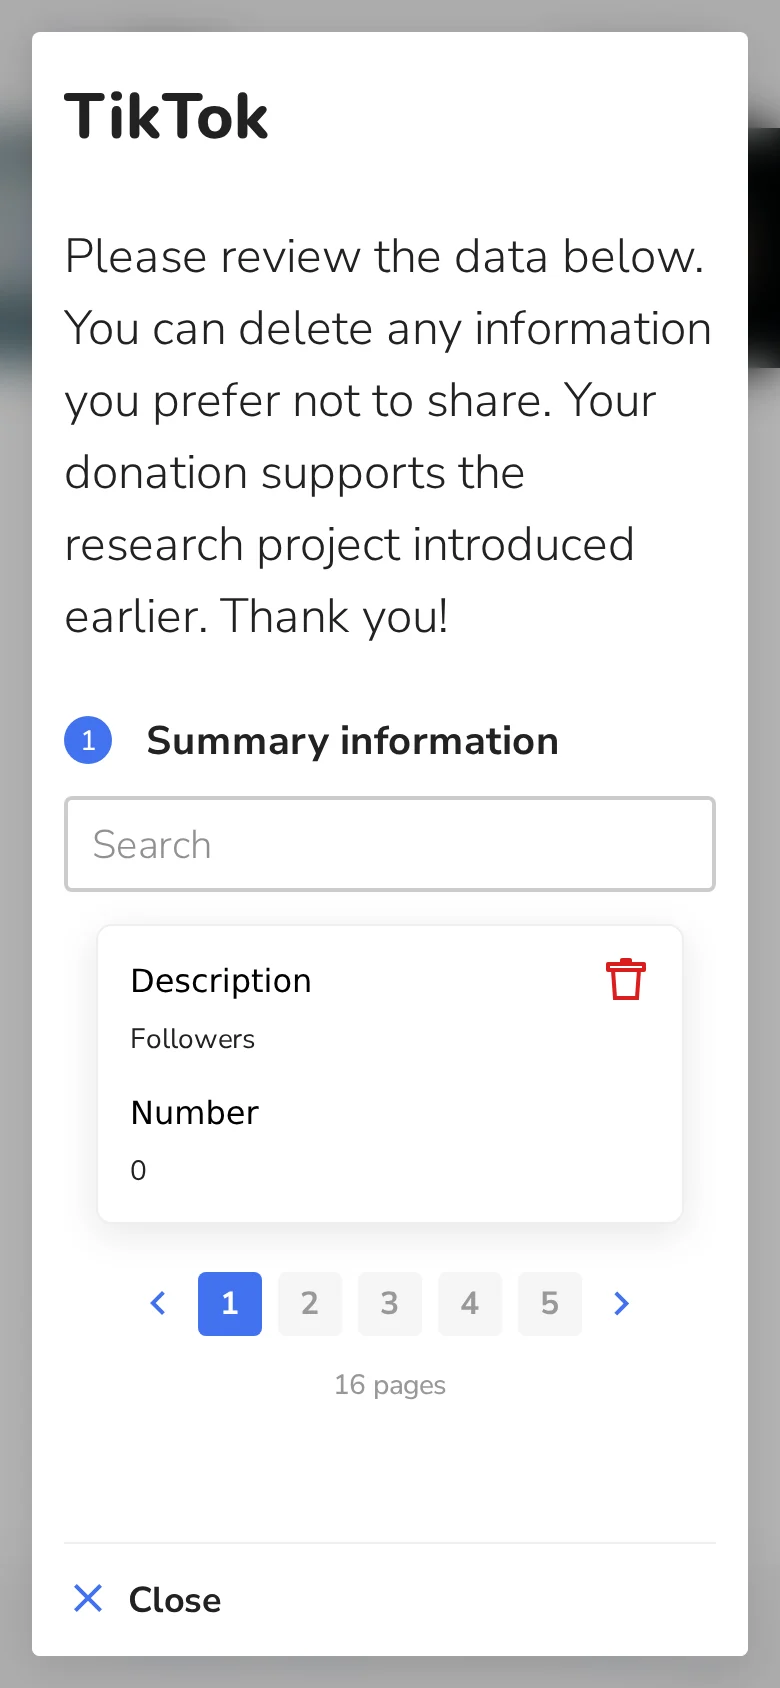
Participants need no account. They follow your instructions, select their file, review the data and decide what to donate.
Publish and collect
Publishing requires a licence: free through D3I for Dutch institutions, paid through Eyra elsewhere. Once live, follow participant progress in the monitor and export the donated data from your project.